
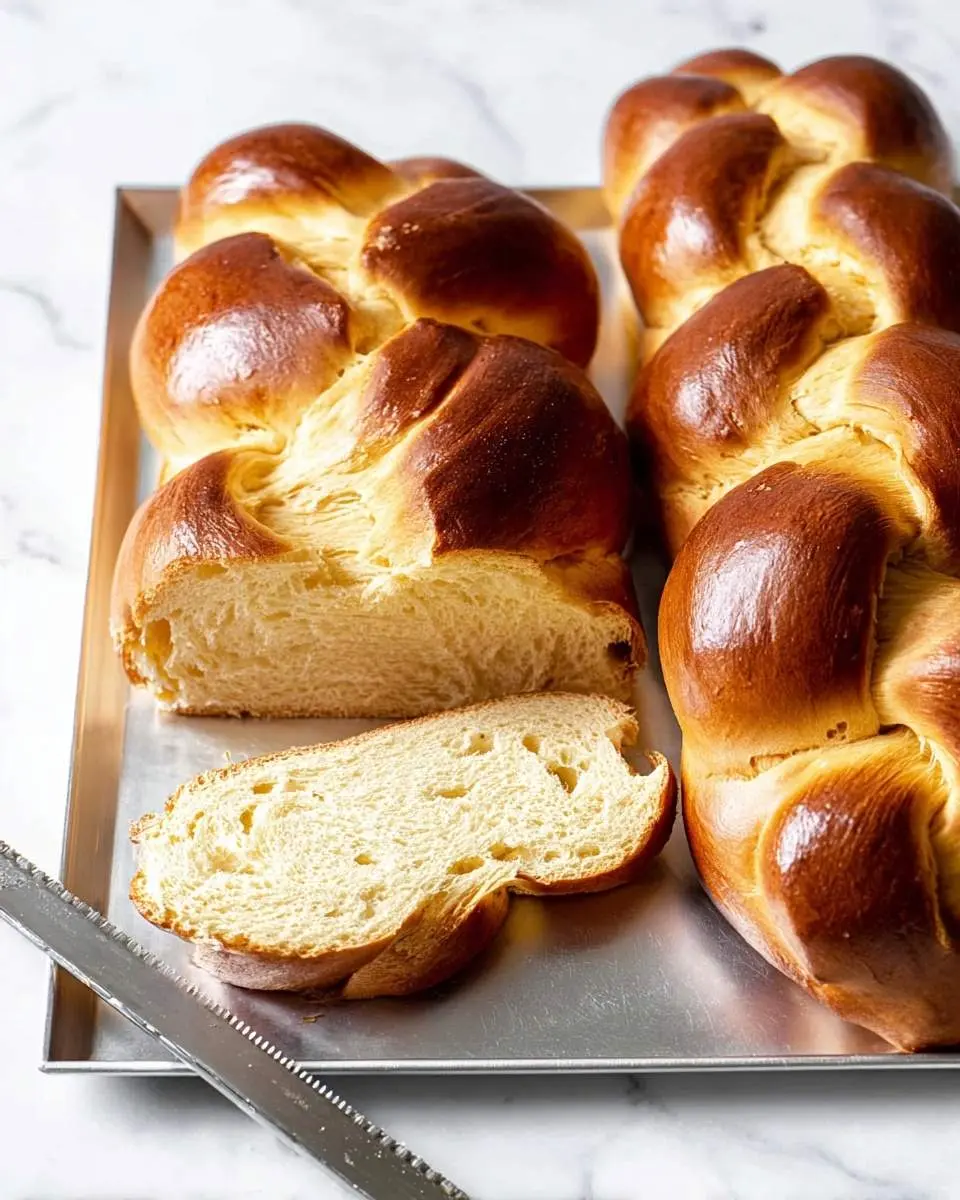
There’s something truly magical about the aroma of freshly baked Challah Bread filling the kitchen. That golden, braided loaf isn’t just a treat; it’s a hug in bread form, soft and slightly sweet, perfect for any meal. Just like my quest to perfect the Blueberry Zucchini Bread, crafting this beautiful loaf brings such unique satisfaction.
I remember growing up, holidays weren’t complete without my grandmother’s challah, her kitchen warm with the scent of yeast and honey. It was the heart of our home, a memory I cherish and bring into my own baking today.
This recipe is both hearty and comforting, perfect for busy families looking for a satisfying bake. My secret? Don’t rush the proofing; good things truly do come to those who wait.

What You Need to Make This Recipe
Crafting this delightful bread relies on wholesome pantry staples like active dry yeast for that perfect rise and honey for its distinctive sweetness. These basic ingredients come together to create a rich and flavorful Challah Bread, much like the simplicity I appreciate in baking a rustic loaf such as French Bread. You’ll find the full list of ingredients and precise measurements in the recipe card below.
How to Make Challah Bread
Making Challah Bread is a wonderfully meditative process, from activating the yeast to bringing the dough together for its first rise. The magic continues as you shape those beautiful braids, reminiscent of forming a classic Italian Bread. A second, shorter rise, followed by a golden bake, transforms simple ingredients into an extraordinary loaf everyone will adore.
Pro Tips for Making This Challah Bread
To achieve a truly glorious, tender crumb and golden crust for your Challah Bread, I’ve picked up a few tricks over the years.
- Don’t Overflour: Resist the urge to add too much flour during kneading. A slightly sticky dough yields a softer, more pliable bread. I always aim for a dough that cleans the sides of the bowl but still feels tacky to the touch.
- Proofing Environment: A warm, draft-free spot is key for a good rise. I often turn my oven on for a minute, then turn it off and let the dough rise inside – it creates the perfect cozy environment.
- Gentle Braiding: Be gentle when braiding. Too much tension can tear the dough and affect the final texture. My top tip is to keep your hands lightly floured and work with a relaxed grip.
My Secret Trick: For an extra glossy finish and a vibrant golden hue, I always brush the Challah Bread with an egg wash not once, but twice – once before the second rise and again right before it goes into the oven. This creates a beautiful shine that makes all the difference!

Fun Variations for Challah Bread
One of the things I adore about Challah Bread is how adaptable it is, letting you play with flavors, much like experimenting with a simple 3-Ingredient Artisan Bread. For a sweet treat, try swirling cinnamon sugar or chocolate chips into the dough before braiding. For a savory twist, incorporate fresh rosemary and a touch of garlic powder. A classic from my childhood is adding soaked raisins for a burst of sweetness!
What to Serve With Challah Bread
The beauty of Challah Bread lies in its versatility. It’s magnificent on its own, but it also elevates so many dishes! For breakfast, I love serving slices with homemade jam or a smear of almond butter and a sprinkle of cinnamon. It makes the most incredible French toast too! At dinner, it’s perfect for soaking up rich sauces from a hearty beef stew or alongside a vibrant green salad. You can even use day-old challah for a truly luxurious bread pudding. My practical tip: always have some on hand for last-minute sandwiches; it turns a simple meal into something special.
How to Store This Golden Loaf
To keep your homemade Challah Bread fresh and delicious, proper storage is key. Once completely cooled, I recommend wrapping the loaf tightly in plastic wrap or placing it in an airtight bread bag. It will stay fresh at room temperature for 2-3 days. For longer storage, slices or the entire loaf can be frozen for up to 3 months. To reheat, simply thaw at room temperature and warm gently in the oven at 300°F (150°C) for 10-15 minutes. Reheating slowly brings the challah bread back to life, making it soft and inviting, just like it was freshly baked!
Nutritional Benefits
This golden Challah Bread offers a good source of carbohydrates for energy and protein from the eggs. It’s a satisfying and comforting addition to any family meal, perfectly aligning with my goal of creating nutritious and fulfilling dishes that everyone loves.
FAQs
Can I make Challah Bread ahead of time?
Absolutely! You can prepare the dough, let it complete its first rise, then punch it down and refrigerate it overnight. The next day, let it come to room temperature for about 30 minutes before shaping and proceeding with the second rise and baking. This makes preparing Challah Bread less stressful for busy schedules.
What’s the secret to a perfectly braided Challah?
The key to a beautiful braid for Challah Bread is consistent tension and practicing your technique. Start with evenly sized strands of dough and try to keep your movements loose and gentle. There are many braiding patterns, from a simple three-strand to an impressive six-strand; choose what feels comfortable for you!
Why did my Challah Bread turn out dense?
A dense Challah Bread can often be due to not enough kneading, over-flouring the dough, or an inactive yeast. Ensure your yeast is fresh and active before you start, and knead the dough until it’s smooth and elastic. Also, allow sufficient time for both rises in a warm, draft-free place.
Can I make this Challah Bread recipe without honey?
Yes, you can substitute the honey in this Challah Bread recipe with an equal amount of granulated sugar or maple syrup. Honey adds a unique flavor and helps with browning, but the bread will still be delicious with another sweetener. Adjust sweetness to your preference if making a direct swap.
Golden Honey Challah Bread
Ingredients
Equipment
Method
Notes
Conclusion
Baking your own Challah Bread is a rewarding experience that fills your home with incredible aromas and your table with a delicious, golden loaf. This recipe is all about bringing that warmth, comfort, and satisfaction to your family meals without extra stress. It’s a testament to how traditional baking can be both nourishing and approachable, perfect for creating cherished memories around the dinner table. I truly hope you try this recipe and share the joy of homemade bread!
Follow us on Social Media : Pinterest