
Flash Sale! to get a free eCookbook with our top 25 recipes.

Sourdough Bread

There’s truly nothing quite like the aroma of freshly baked Sourdough Bread filling your kitchen. That crackling crust and soft, airy interior bring pure bliss, taking me right back to my grandma’s kitchen, much like her wonderful rhubarb bread.

I vividly recall my first sourdough attempts – a messy, magical journey connecting me to generations of bakers. Each bubble felt like a quiet conversation.

This recipe brings that cherished experience home, offering a hearty, satisfying loaf that’s wonderfully low-stress. My tip: patience and an active starter make all the difference.

sourdough bread
Sourdough Bread 30

What You Need to Make This Recipe

Making this Sourdough Bread requires an active starter, bread flour, and fine sea salt. I love how these simple ingredients create magic, like in my blueberry sourdough bread. Find all details in the recipe card!
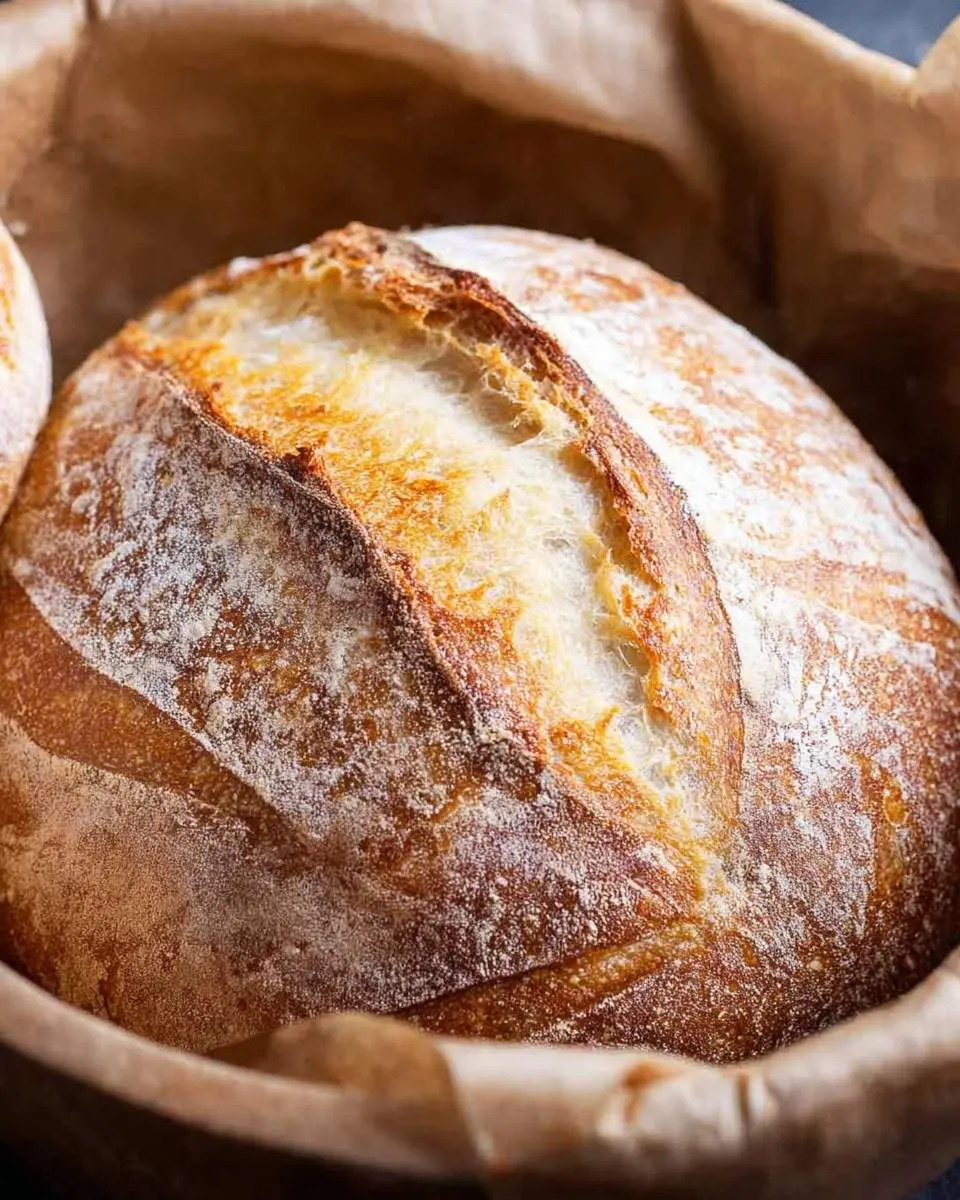
sourdough bread recipe
Sourdough Bread 31

How to Make Sourdough Bread

Crafting this artisan Sourdough Bread is a two-day joy. Day one: gently mix starter, flours, salt, then patient folding and bulk fermentation, a process I love, similar to my sourdough olive bread. Day two: bake proofed dough into a golden, crispy masterpiece!

Pro Tips for Making This Sourdough Bread

Achieving perfect Sourdough Bread takes practice. Ensure your starter is active and bubbly; a sleepy one means a flat loaf. Don’t fear handling the dough – it’s resilient! Observe the dough, not just timing; room temperature affects fermentation, so look for a visibly puffy dough with small bubbles.

My Secret Trick: For an extra crispy crust, preheat your Dutch oven for 30 minutes at high temperature. This creates a steam burst, giving Sourdough Bread its signature crackle!
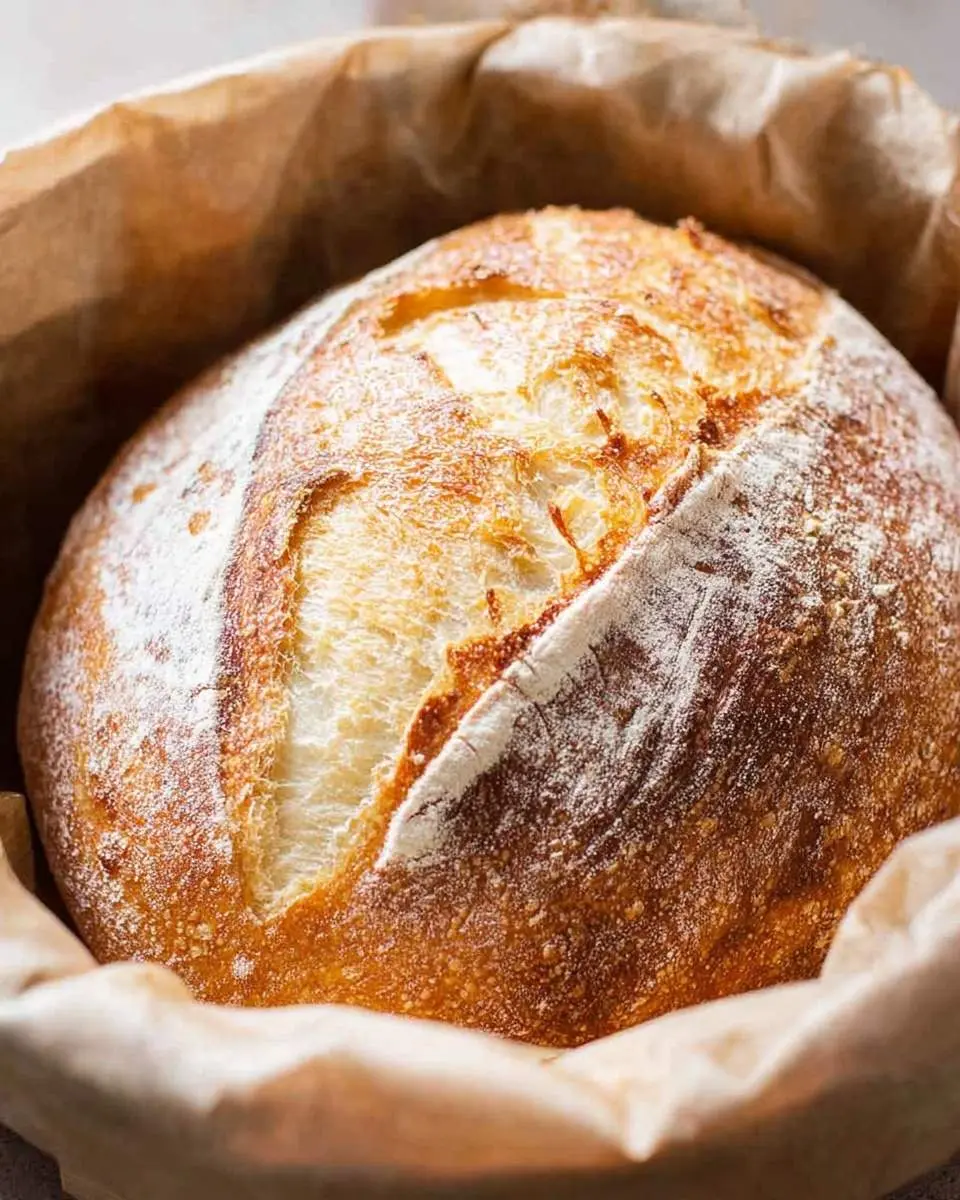
sourdough bread recipe 1
Sourdough Bread 32

Fun Variations for Sourdough Bread

I love to experiment with my Sourdough Bread! Here are a few exciting twists:

  • Cheese & Herb: Fold in sharp cheddar and fresh rosemary during shaping for a savory option.
  • Everything Bagel: Mist the top and sprinkle generously with everything bagel seasoning before baking.
  • Dried Fruit & Nut: Incorporate dried cranberries and walnuts for a slightly sweet loaf, wonderful with cheese, similar to how I tweak my honey oat sourdough bread recipe.

What to Serve With Sourdough Bread

Freshly baked Sourdough Bread is a canvas for delicious pairings!

  • Soups & Stews: Dunking a piece into hearty lentil soup or rich beef stew is ultimate comfort.
  • Olive Oil & Balsamic: A simple dipping oil with quality extra virgin olive oil and aged balsamic vinegar is always a hit. Add red pepper flakes!
  • Avocado Toast Elevated: My family loves toasted sourdough with mashed avocado, seasoning, and a fried egg for a protein-packed breakfast. My tip: Always have good quality butter, maybe homemade herb butter, to elevate that simple joy.

sourdough bread pinterest
Sourdough Bread 33

How to Store Sourdough Bread

To keep your Sourdough Bread at its best, proper storage is key. For 1-2 days, store at room temperature, cut-side down, or wrapped in a linen towel. For longer periods, slice cooled loaf and freeze in an airtight bag.

Reheating is easy! Thaw frozen slices, then toast or warm in the oven at 350°F (175°C) for 5-7 minutes. My tip: to revive a stale loaf, lightly spritz with water and bake in a hot oven for 10-15 minutes. Pure magic!

Nutritional Benefits

This artisan Sourdough Bread offers more than flavor; its fermentation aids nutrient absorption and can be easier on digestion. It’s a wholesome, hearty choice perfect for nourishing my family.

FAQs

What makes Sourdough Bread unique?

Sourdough Bread stands out due to its natural leavening agent, the starter, a fermented mix of flour and water. This gives the bread its distinctive tangy flavor, chewy texture, and wonderful aroma, making each loaf truly special.

Can I use different flours for this Sourdough Bread recipe?

Absolutely! While this recipe uses bread and whole wheat flour, you can experiment. I’ve had success with rye for a deeper flavor. Just know different flours absorb water differently, so slight hydration adjustments to your Sourdough Bread might be needed.

Why is a Dutch oven recommended for baking Sourdough Bread?

A Dutch oven is fantastic for baking Sourdough Bread because it creates a steamy environment. The sealed pot traps moisture from the dough, resulting in that crucial crispy crust and beautiful oven spring that we all love. It mimics a professional baker’s oven at home.

How do I know if my sourdough starter is active enough?

An active starter for Sourdough Bread will be bubbly, have a pleasant aroma, and should double in size after feeding. I always do the “float test” – if a small spoonful floats in water, it’s vibrant and ready to create a magnificent loaf!

Freshly baked, round artisanal Sourdough Bread with a golden-brown crust, dusted with flour and a score, nestled in brown paper.

Artisan Country Sourdough Loaf

This classic sourdough recipe yields a beautifully crusted, airy loaf with a delightfully tangy crumb. Perfect for both beginners and experienced bakers looking for a reliable, flavorful bread.
Prep Time 45 minutes
Cook Time 45 minutes
Total Time 1 hour 30 minutes
Servings: 1 loaf
Course: Breads
Cuisine: European
Calories: 160

Ingredients
  

  • 100 g Active Sourdough Starter fed and bubbly
  • 350 g Warm Water 90-95°F (32-35°C)
  • 400 g Bread Flour high protein content
  • 50 g Whole Wheat Flour for flavor and texture
  • 10 g Fine Sea Salt

Equipment

  • Large Mixing Bowl
  • Dough scraper
  • Banneton Basket (or bowl with floured tea towel)
  • Dutch Oven (5-7 quart)
  • Kitchen scale
  • Bench scraper
  • Lame (razor blade)

Method
 

Day 1: Mixing and Fermentation
  • Feed your sourdough starter 4-12 hours before you plan to mix your dough, ensuring it's active, bubbly, and passes the float test.
  • In a large mixing bowl, combine the warm water, bread flour, and whole wheat flour. Mix by hand or with a dough scraper until all dry spots are hydrated and no lumps remain. This is the autolyse stage. Cover the bowl and let it rest for 30-60 minutes.
  • Add the active sourdough starter and fine sea salt to the autolysed dough. Mix thoroughly by hand, pinching and folding the dough until the starter and salt are fully incorporated. The dough will feel shaggy and sticky. Cover the bowl and let it rest for 30 minutes.
  • Begin the bulk fermentation process by performing stretch and folds. Over the next 3-4 hours, perform 4-5 sets of stretch and folds every 30-45 minutes. To do this, wet your hands, gently grab a portion of the dough from the edge, stretch it upwards, and fold it over the center. Rotate the bowl and repeat this action 3-4 times until all sides have been stretched. The dough will gradually become smoother, stronger, and more elastic.
  • After the final set of stretch and folds, let the dough rest, covered, at room temperature (72-78°F / 22-25°C) for another 4-8 hours (total bulk fermentation time including stretch and folds can be 8-12 hours). The dough should increase in volume by approximately 30-50% and appear airy and jiggly.
  • Gently turn the dough out onto a lightly floured work surface. Using a bench scraper or your hands, gently shape it into a loose round (pre-shape). This helps to build surface tension. Cover the dough loosely with the bowl or a damp cloth and let it rest for 20-30 minutes.
  • Lightly flour your work surface again. Gently flatten the dough into a roughly 8-inch circle. For the final shape, fold the top third of the dough down towards the center, then fold the bottom third up over the top. Rotate the dough 90 degrees and repeat the folding action, creating a taut, round boule by gently pulling and tucking the dough under itself.
  • Transfer the shaped dough, seam-side up, into a well-floured banneton basket (or a bowl lined with a floured tea towel). Cover the banneton with a plastic bag or wrap and refrigerate for 12-16 hours (or up to 24 hours). This cold proofing step slows fermentation, develops deeper flavor, and makes the dough easier to handle and score.
Day 2: Baking
  • At least 45-60 minutes before you plan to bake, place your Dutch oven (with its lid) into your oven and preheat to 475°F (245°C). Ensure the oven is fully preheated.
  • Carefully remove the cold dough from the refrigerator. Gently invert the dough from the banneton onto a piece of parchment paper. Using a sharp razor blade (lame), score the top of the dough with your desired design. A single deep slash helps with oven spring; decorative patterns are optional.
  • Carefully transfer the scored dough (still on the parchment paper) into the hot Dutch oven. Place the lid on the Dutch oven and bake for 30 minutes.
  • After 30 minutes, carefully remove the lid from the Dutch oven. Reduce the oven temperature to 450°F (230°C). Continue baking for another 15-20 minutes, or until the crust is deeply golden brown and caramelized to your liking.
  • Carefully remove the baked loaf from the Dutch oven (using the parchment paper as handles) and transfer it to a wire rack. Let it cool completely for at least 2-3 hours before slicing. Slicing the bread while it's still hot will compromise its internal crumb structure and texture.

Notes

An active, healthy sourdough starter is crucial; it should double in size 4-8 hours after feeding and pass the float test (a small piece floats in water). This recipe uses a relatively high hydration dough, which can be sticky—don't be afraid to use wet hands or a dough scraper during the stretch and folds. Baking in a Dutch oven creates a steamy environment, essential for a good oven spring and a beautiful, crispy crust. Resist the urge to cut into the hot loaf, as the internal structure is still setting, and cutting too early can result in a gummy crumb. Store cooled sourdough bread at room temperature in a bread bag or wrapped in a tea towel for 2-3 days. For longer storage, slice the loaf and freeze.

Conclusion

Baking your own artisan Sourdough Bread at home is more than a recipe; it’s an experience that fills your kitchen with warmth and your family with nourishing, delicious food. This loaf, with its incredible crust and tender crumb, is a testament to simple ingredients and patience. I hope you’ll enjoy this rewarding journey and the wholesome goodness of homemade bread. It’s practical, comforting, and perfect for any family meal.

Follow us on Social Media : Pinterest