
The smell of vanilla and sugar hitting hot metal takes me straight back to my grandmother’s kitchen. She never made Twinkies, but she made something better. yellow cake that tasted like sunshine and patience. When I finally tried making homemade Twinkies myself, I understood why people get obsessed with recreating childhood favorites from scratch.
I ate my first real Twinkie at a gas station on a road trip to Florida. My dad bought one for each of us, and I remember thinking the cream filling was some kind of magic. Years later, standing in my own kitchen with a piping bag and a silly canoe-shaped pan, I realized the magic was actually just good technique and real ingredients.
This recipe surprised me. The sponge cake is lighter than I expected, and the filling sets up creamy without being too sweet. If you are into nostalgic baking projects, you might also love this ube pound cake I developed last year. same energy, different color.
The Pan and Batter That Make These Special
You need a canoe pan. I resisted buying one for months, then found a cheap set online and never looked back. The shape matters. those ridges hold the filling perfectly. For the batter, cake flour keeps the sponge tender, and whole eggs whipped with sugar create the structure that makes homemade Twinkies actually hold together when you bite. I also use clear vanilla extract for that authentic snack-cake flavor. If you want to understand how different flours affect texture, check out my notes on cake flour versus all-purpose.
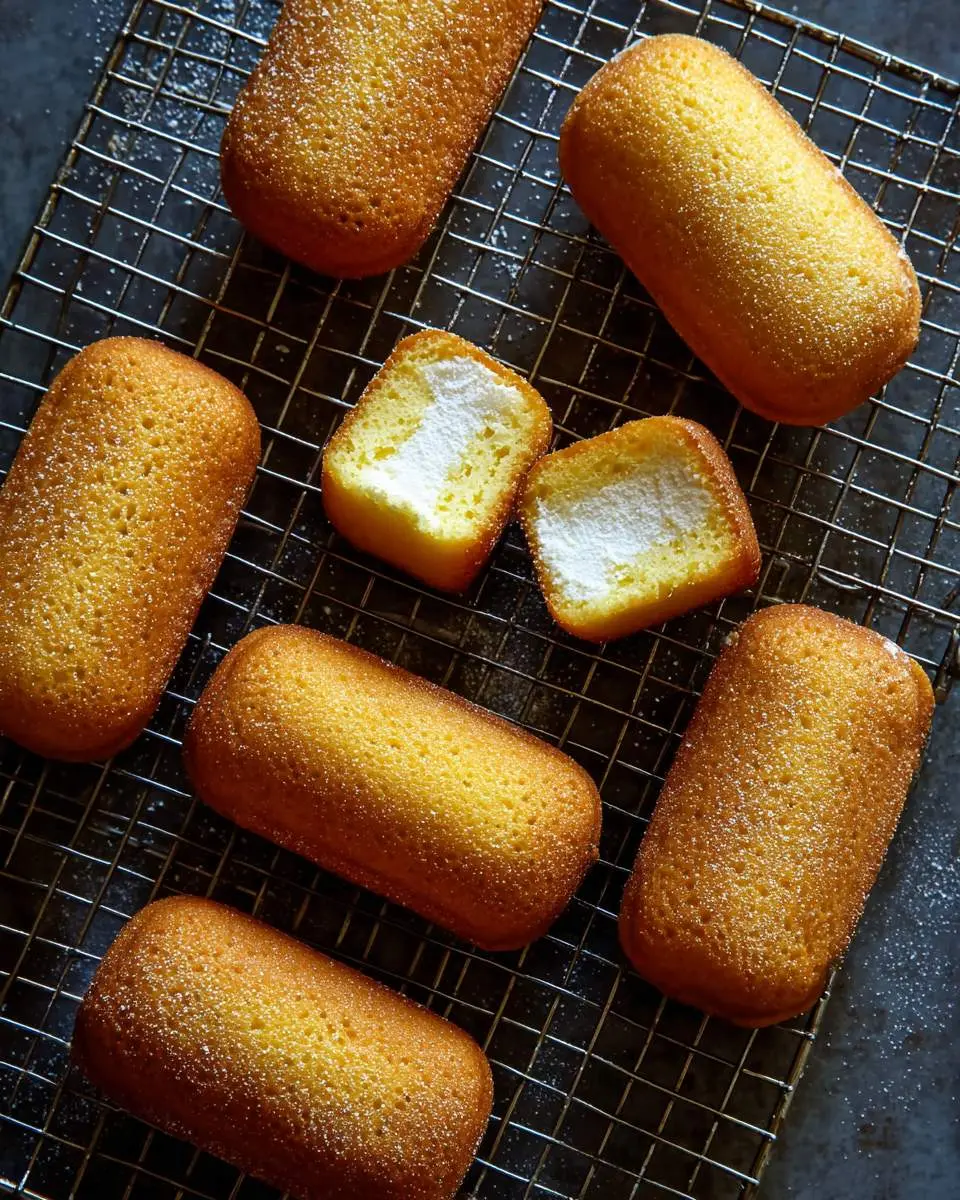
How to Make Homemade Twinkies
The batter comes together like a genoise. eggs and sugar whipped until they fall off the whisk in thick ribbons. This takes longer than you think, maybe eight minutes, and the mixer sounds different when it is ready, almost slapping instead of whirring. I fold in the flour gently, watching for streaks to disappear without deflating the foam.
The pan gets a light coating of butter and flour, then I fill each cavity three-quarters full. They bake fast, twelve to fourteen minutes, and you will smell them before the timer goes. that sweet vanilla edge that means they are almost done. I turn them out immediately onto a rack and let them cool completely before even thinking about filling.
The marshmallow cream filling is the fun part. I beat butter with powdered sugar, then fold in marshmallow fluff and a touch of heavy cream. It pipes beautifully through a small round tip. I poke three holes in the bottom of each cake and squeeze until I feel resistance. The first time I did this, I burst one wide open and ate it immediately. No regrets. For another cake that rewards patience, try this strawberry shortcake layer cake. similar technique, bigger payoff.
What I Learned After Three Batches
Do not overfill the pan. The batter looks scant at three-quarters full, but these rise dramatically and then settle into that perfect domed shape. Overfilled cakes mushroom over the edges and crack when you try to remove them.
Underbaking is worse than overbaking here. A slightly dry sponge still holds filling; a gummy one collapses and turns soggy within hours. I pull them when the tops spring back immediately and a toothpick comes out with just a few moist crumbs.
Let the cakes cool completely before filling. I tried rushing once, and the warmth melted the filling into the sponge, creating a weird uniform sweetness instead of that distinct cream center.
My Secret Trick: I pipe a tiny test blob of filling onto a plate first to check the consistency. If it holds a peak for ten seconds, it is perfect. Too soft and it soaks in; too stiff and it tears the delicate sponge.

How to Store Homemade Twinkies
- Room temperature in an airtight container for up to 2 days. the sponge stays softer this way
- Refrigerate for up to 5 days; bring to room temperature for 30 minutes before eating for best texture
- Freeze unfilled cakes wrapped tightly in plastic for up to 1 month; thaw and fill fresh
- Do not freeze filled cakes. the filling weeps and makes the sponge rubbery
- To refresh day-old cakes, microwave 5 seconds or warm in a 300°F oven for 3 minutes
Why These Beat the Store-Bought Version
Real butter and actual vanilla make homemade Twinkies taste like food instead of science experiments. The eggs provide protein and structure without any mysterious shelf-stabilizers, and controlling the sugar means you get sweetness without that cloying coating on your tongue. I eat one with afternoon coffee and genuinely feel satisfied, not vaguely chemical.

FAQs
Can I make these without a special pan?
You can use a standard muffin tin, but the shape will be wrong and the filling distribution tricky. I tried cutting rectangular cakes from a sheet pan once, and they tasted fine but looked like sad sandwiches. The canoe pan is worth the small investment for the authentic experience.
Why did my sponge turn out dense and heavy?
Your eggs and sugar were not whipped enough, or you overmixed when adding flour. The ribbon stage is non-negotiable. when you lift the whisk, the batter should fall in a thick rope that folds back on itself and sits on the surface for several seconds before sinking.
Can I use a different filling flavor?
Absolutely. I have done chocolate ganache, raspberry cream, and even peanut butter. Just keep the consistency similar to the original. thick enough to pipe, soft enough to bite through. Runny fillings leak; stiff ones burst the cakes.
How long do homemade Twinkies stay fresh?
Two days at room temperature, five refrigerated. Unlike the store-bought version that lasts indefinitely through chemistry, these are real food with real expiration. Homemade Twinkies actually taste better on day two as the flavors meld, but after that the sponge starts to stale.

Homemade Twinkies
Ingredients
Equipment
Method
Notes
Conclusion
Making homemade Twinkies reminded me that the best versions of nostalgic foods honor the memory without being trapped by it. These are better than what I ate in that Florida gas station. and I think my grandmother would have approved. If you want another project that transforms simple ingredients into something worth sharing, bake this strawberry pound cake next.
Follow us on Social Media : Pinterest