
The first time I pulled a bubbling cherry crisp from the oven, I stood there in my kitchen doorway and just watched it. The topping had turned this impossible golden-brown, and the cherry juice was seeping up through the cracks like it was trying to escape. I could smell the brown butter and cinnamon before I even opened the oven door. That combination of tart fruit and sweet, crunchy topping is the reason I started baking in the first place.
My grandmother never measured anything. She would dump cherries into a Pyrex dish and sprinkle topping with her hands, humming some song I never learned the name of. I tried to recreate her version for years and always failed. Then I realized she was using sour cherries from a tree that doesn’t exist anymore, and I had to let go of the ghost. This version is mine now, and I have finally stopped apologizing for that.
What I love most is how forgiving it is. You can use fresh cherries when they are piled high at the market, or frozen ones when you are desperate for something warm in February. If you want something similar with stone fruit, I have been obsessed with this apricot crisp lately.
Why These Particular Ingredients Matter
The cherries need to be tart. Sweet cherries will give you a cloying, one-note dessert that tastes like jam on oatmeal. I use sour cherries when I can find them, or I cut sweet cherries with a tablespoon of lemon juice to wake them up. The topping is where the magic lives: cold butter cut into oats and brown sugar creates those craggy, cookie-like clusters that stay crisp even after the fruit softens underneath. A handful of sliced almonds in the topping adds a subtle bitterness that balances all that sugar. I learned that trick from a mini tart recipe I make every summer, and now I add nuts to every crisp I bake.

How to Make Cherry Crisp
I start by tossing the cherries with sugar, cornstarch, and a pinch of salt while the oven heats. The cornstarch always looks like too much, but trust it. As the fruit bakes, it releases juice that needs somewhere to go, and without enough thickener you will have cherry soup with a crunchy island floating in the middle. I let the fruit sit for ten minutes so the sugar can start drawing out moisture.
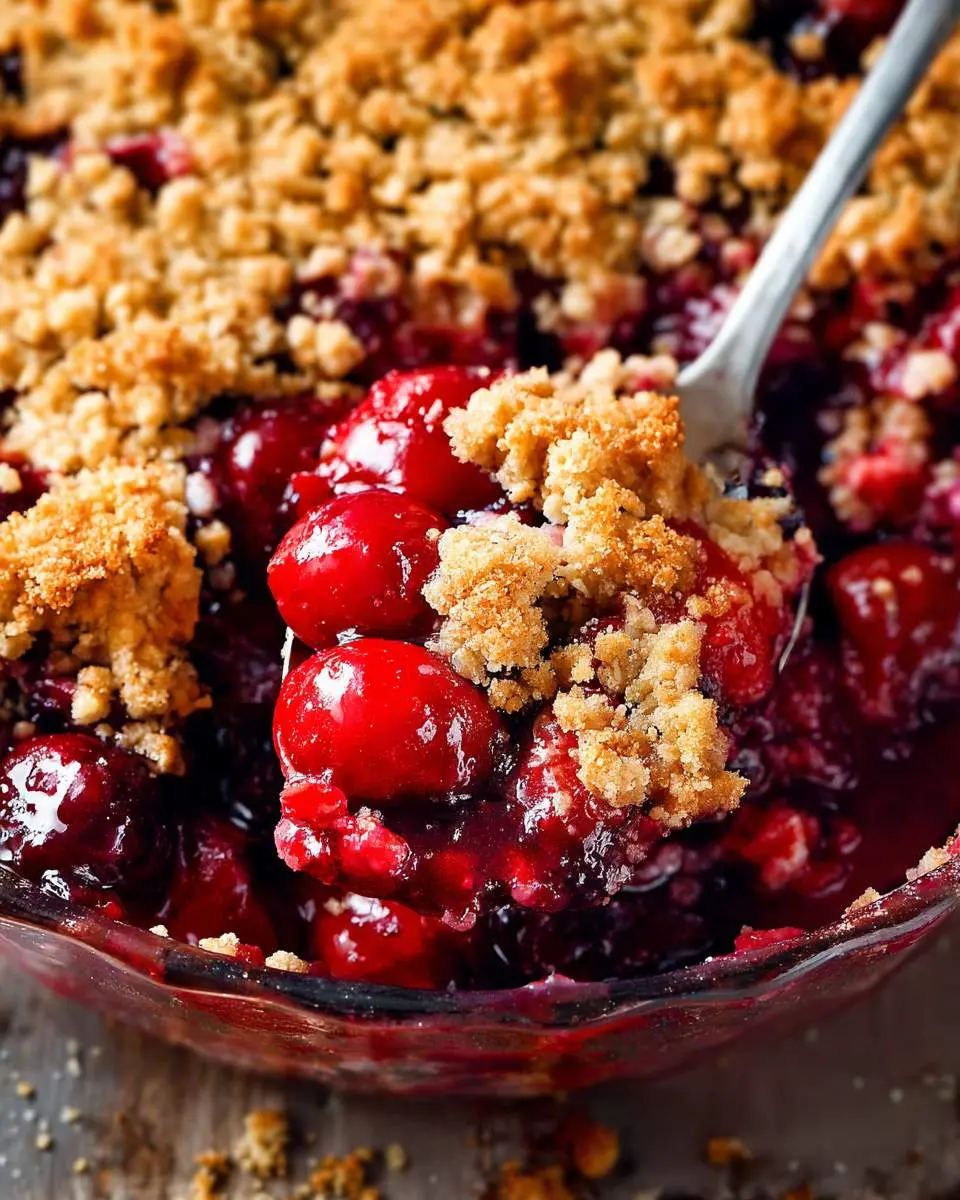
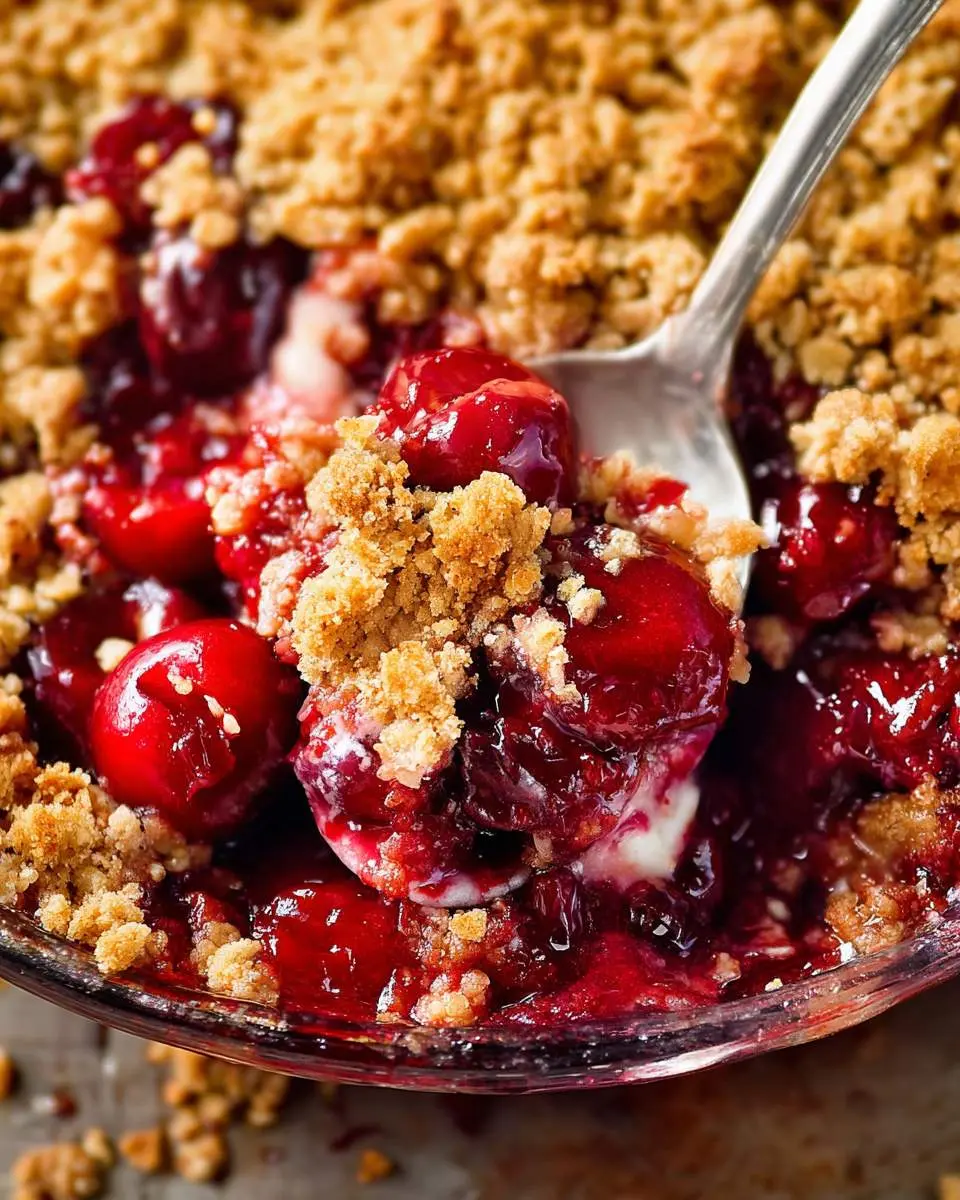
The topping comes together in a food processor, but I finish it by hand. Pulse the dry ingredients with cold butter until you have pea-sized pieces, then dump it into a bowl and squeeze handfuls together. This creates the irregular chunks that bake into those perfect craggy bits. I scatter it over the cherries without pressing down. The topping needs air to crisp properly.
The smell at the twenty-minute mark is almost unbearable. Butter browning, sugar caramelizing, cherries softening into something jammy and intense. I rotate the dish once because my oven has a hot spot near the back right corner that burns everything. When the topping is deeply golden and the filling bubbles up around the edges, it is done. I force myself to wait twenty minutes before serving, though I have absolutely failed at this and burned my mouth more than once. If you are in the mood for a more rustic presentation, this cherry galette uses the same fruit with a completely different approach.
What I Learned After Three Attempts
My first try was too sweet. I followed a recipe that treated sour cherries like they needed rescue, and the result was cloying. Now I taste my cherries first and adjust the sugar accordingly. Sometimes I use as little as a quarter cup if the fruit is perfect.
I also learned that frozen cherries need no thawing. The first time I defrosted them, I lost half the juice down the drain and the filling was dry. Now I toss them frozen with the dry ingredients and let the oven do the work.
The topping ratio matters more than I thought. Too much butter and it spreads into a cookie sheet. Too little and you have dusty oats on wet fruit. I weigh my ingredients now, which feels pretentious until you taste the difference.
My Secret Trick: I grind a tablespoon of the oats into flour and add it to the topping. This creates a more cohesive, cookie-like texture that holds together when you scoop it. The whole oats give you crunch, the oat flour gives you structure. I stumbled on this by accident when my food processor was dirty and I used my spice grinder instead.
How to Store Cherry Crisp
- Room temperature: Cover loosely with foil and store up to 2 days. The topping softens but the flavor deepens.
- Refrigerator: Transfer to an airtight container and refrigerate up to 5 days. The topping loses its crunch entirely but makes excellent breakfast with yogurt.
- Freezer: Wrap individual portions in plastic wrap, then foil, and freeze up to 3 months. Thaw overnight in the refrigerator.
- Reheating: For best results, warm in a 350°F oven for 15-20 minutes. The microwave works in 30-second bursts but steams the topping.
Why This Dessert Actually Makes Sense
Cherry crisp delivers the satisfaction of pie without the anxiety of crust. The oats provide fiber that slows sugar absorption, and the almonds contribute protein and healthy fat that keeps you full longer than a slice of cake. I am not calling it health food, but I have definitely eaten it for breakfast and felt less guilty than I would have with a donut. The cherry crisp structure means you can adjust the sweetness to your taste, which matters more than any nutrition label.

FAQs
Can I use canned cherry pie filling instead of fresh cherries?
I would not recommend it. The filling is already sweetened and thickened, so your topping will sit on top of gel rather than melting into fruit. If you are desperate, drain the filling and rinse it to remove excess syrup, then add fresh lemon juice to cut the sweetness.
Why is my topping soggy instead of crisp?
Your butter was too warm when you mixed it, or you pressed the topping down onto the fruit. Cold butter creates steam pockets that crisp the oats. Also check that your oven is fully preheated. A lukewarm oven melts the butter before the structure sets.
Can I make this cherry crisp in individual ramekins?
Absolutely, and I prefer it this way for dinner parties. Divide the fruit and topping among six 8-ounce ramekins and reduce baking time to 25-30 minutes. Watch for the same bubbling edges and golden top. They look elegant and everyone gets their own perfect ratio of fruit to topping.
What can I substitute for oats in the topping?
Gluten-free flour blends work, though the texture becomes more cake-like. I have also used crushed graham crackers with success. Avoid coconut flour, which absorbs too much moisture and creates a dry, crumbly mess that does not cling to the fruit properly.
Cherry Crisp
Ingredients
Equipment
Method
Notes
Conclusion
This cherry crisp is the dessert I make when I want to feel capable in the kitchen without working very hard. It has never failed me, and I hope it becomes that reliable friend for you too. If berries are more your speed, this blueberry crisp follows the same method with equally happy results.
Follow us on Social Media : Pinterest