
I remember the pure joy of biting into that iconic chocolate cookie with its creamy white filling. It was a taste of childhood, a moment of simple bliss that felt like a secret indulgence. Seriously, who doesn’t love a good cookie?
My grandma always had a package of those classic treats hidden away for special occasions, and sneaking one was always a true triumph, a moment of pure culinary rebellion. That distinct flavor and texture has stuck with me ever since.
Recreating that magic in my own kitchen has been a quest, and I’ve finally cracked the code to those perfectly dark, rich homemade oreo cookies, just like the classic ones we all adore. You are going to absolutely love them.
What You Need to Make This Recipe
To make these delightful homemade oreo cookies, you’ll find yourself reaching for a few staples that truly make all the difference. Good quality Dutch-processed cocoa powder is non-negotiable for that signature deep, dark color and incredibly rich chocolate flavor; it’s what gives them their iconic look. And for the filling, plenty of powdered sugar and a touch of vanilla extract create that irresistible, sweet creaminess, echoing the joy of apricot cookies with a perfect balance.

How to Make oreo cookies
Creating these cookies feels like a little bit of alchemy as the dark cocoa powder blends with the butter and sugar, forming a dough that’s surprisingly pliable and fragrant. Rolling out that rich, chocolatey disk and cutting out perfect rounds always feels incredibly satisfying, especially when you think about them alongside festive strawberry cookies. As they bake, the kitchen fills with a deep, comforting aroma that truly makes my heart sing.
Then comes the best part: whisking together the filling until it’s light and fluffy, creating that perfect white cloud ready to be sandwiched between those crisp, dark wafers. It’s an assembly line of happiness, and I just adore watching them come together.
Pro Tips
Getting your homemade oreo cookies just right takes a little finesse, but these tips will make all the difference, I promise. First, ensure your butter for the dough is at room temperature; this helps create a smooth, homogenous mixture, preventing crumbling during rolling.
Second, don’t overbake the cookie wafers; they should still be slightly soft when you take them out, as they’ll crisp up beautifully as they cool. Overbaking can unfortunately lead to a dry, hard cookie, and we want that perfect snap.
My Secret Trick: Chill your cookie dough for at least 30 minutes before rolling; this makes it much easier to handle, preventing stickiness and ensuring your cookies hold their perfect round shape. It’s a game changer for these homemade oreo cookies.
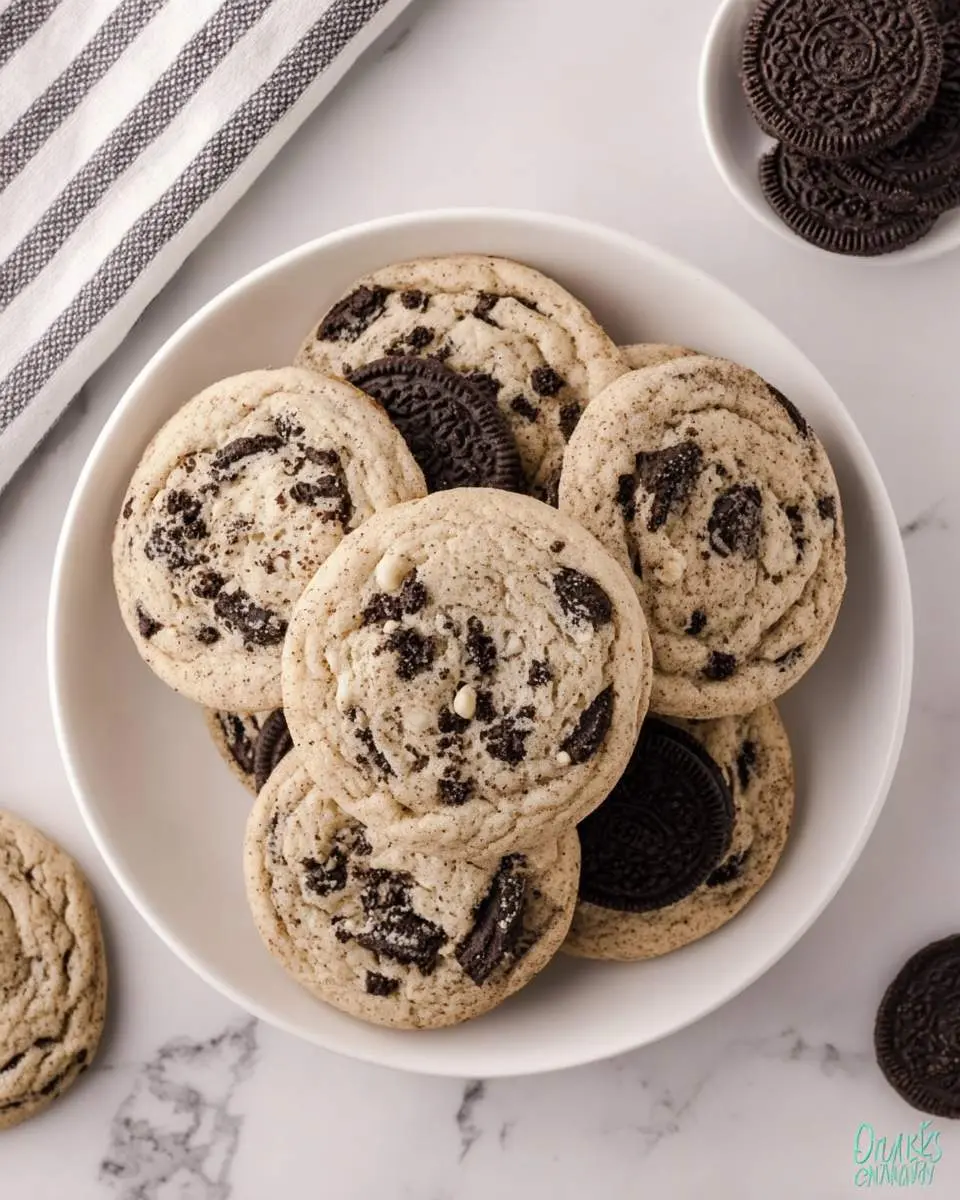
How to Store oreo cookies
- Store finished homemade oreo cookies in an airtight container at room temperature for up to 5 days, keeping them wonderfully fresh and crisp.
- For longer storage, you can refrigerate them in an airtight container for up to 1 week, though I doubt they’ll last that long!
- Unfilled cookie wafers can be frozen for up to 1 month; just thaw at room temperature before filling and assembling.
- The cream filling can be stored separately in an airtight container in the fridge for up to 3 days, perfect for making a fresh batch of cookies later.
Nutritional Benefits
While we mostly bake homemade oreo cookies for pure enjoyment, the dark cocoa powder does offer some lovely antioxidants, giving these a delicious treat with a little extra something. Plus, the sheer joy they bring to your heart and soul is a benefit in itself, reminding us that sometimes, pure deliciousness is its own beautiful reward.

FAQs
Why is my cookie dough too crumbly?
This often happens if your butter isn’t soft enough or you haven’t mixed it long enough to fully incorporate with the dry ingredients. Try adding a tiny splash of milk or water, just a teaspoon at a time, until it comes together into a workable dough.
Can I make the cream filling less sweet?
Absolutely! You can reduce the amount of powdered sugar slightly in the filling, perhaps by a quarter cup, to temper the sweetness. Just adjust it to your personal taste preference; it’s all about making it perfect for you.
How do I get the cookies to be perfectly dark like the store-bought ones?
The key to that iconic dark color is using Dutch-processed cocoa powder. Regular cocoa powder will give a lighter brown hue, so definitely opt for Dutch-processed for that deep, almost black, finish we all recognize and love.
What if I don’t have a round cookie cutter?
No problem at all! You can easily use the rim of a small glass or even a bottle cap to cut out your cookie shapes. The joy of these delicious homemade oreo cookies is in the incredible flavor, not just perfect uniformity.

Homemade Oreo Cookies
Ingredients
Equipment
Method
Notes
These cookies taste best after sitting for a few hours, or even overnight, allowing the flavors to meld and the cookie to soften slightly. Store them in an airtight container at room temperature for up to 5 days.
Feel free to get creative with your filling! Add a pinch of peppermint extract for a holiday twist, or a bit of almond extract for a different flavor profile.
Conclusion
There’s something truly magical about bringing those cherished childhood memories to life in your own kitchen. These homemade oreo cookies are more than just a dessert; they’re a little piece of joy, a taste of home, and a testament to the simple pleasure of baking.
I promise, once you try making these, you’ll be absolutely hooked, just like with my strawberry shortcake cookies. It’s a journey worth taking, and I can’t wait for you to experience that incredible homemade goodness. Happy baking, my friends!