
The first time I opened a jar of homemade fermented cabbage, the smell hit me like a memory I didn’t know I had. Sharp, alive, slightly funky in the best possible way. That tang of fermented cabbage transported me straight to my grandmother’s root cellar, where she kept earthenware crocks buried in cool darkness. I never thought I could recreate that magic in my own kitchen, let alone fall completely in love with the process.
Last winter, I found myself craving something crunchy and complex to break up the monotony of roasted everything. I remembered those crocks and decided to try my hand at fermentation. What started as a weekend experiment turned into a monthly ritual. There’s something meditative about massaging salt into shredded leaves, watching the liquid slowly pool at the bottom of the bowl, knowing you’re coaxing invisible bacteria into doing delicious work.
If you’re curious about other ways to transform humble cabbage, I recently made these cabbage dumplings that disappeared before I could photograph them properly. But today, I want to walk you through the simplest fermentation project I know.
The Humble Ingredients That Create Magic
This recipe asks for so little and gives back so much. A firm head of green cabbage provides the structure and natural sugars that feed the fermentation. Kosher salt does double duty: it draws out moisture to create the brine and creates an environment where good bacteria thrive while bad ones surrender. I add a few caraway seeds because they whisper of Eastern European kitchens and add a subtle bitterness that balances the sourness. The beauty of fermented cabbage is that these three elements, left alone with time, become something far greater than their sum. For another vegetable-forward dish that celebrates simplicity, try these zoodles with summer vegetables.
How to Make Fermented Cabbage
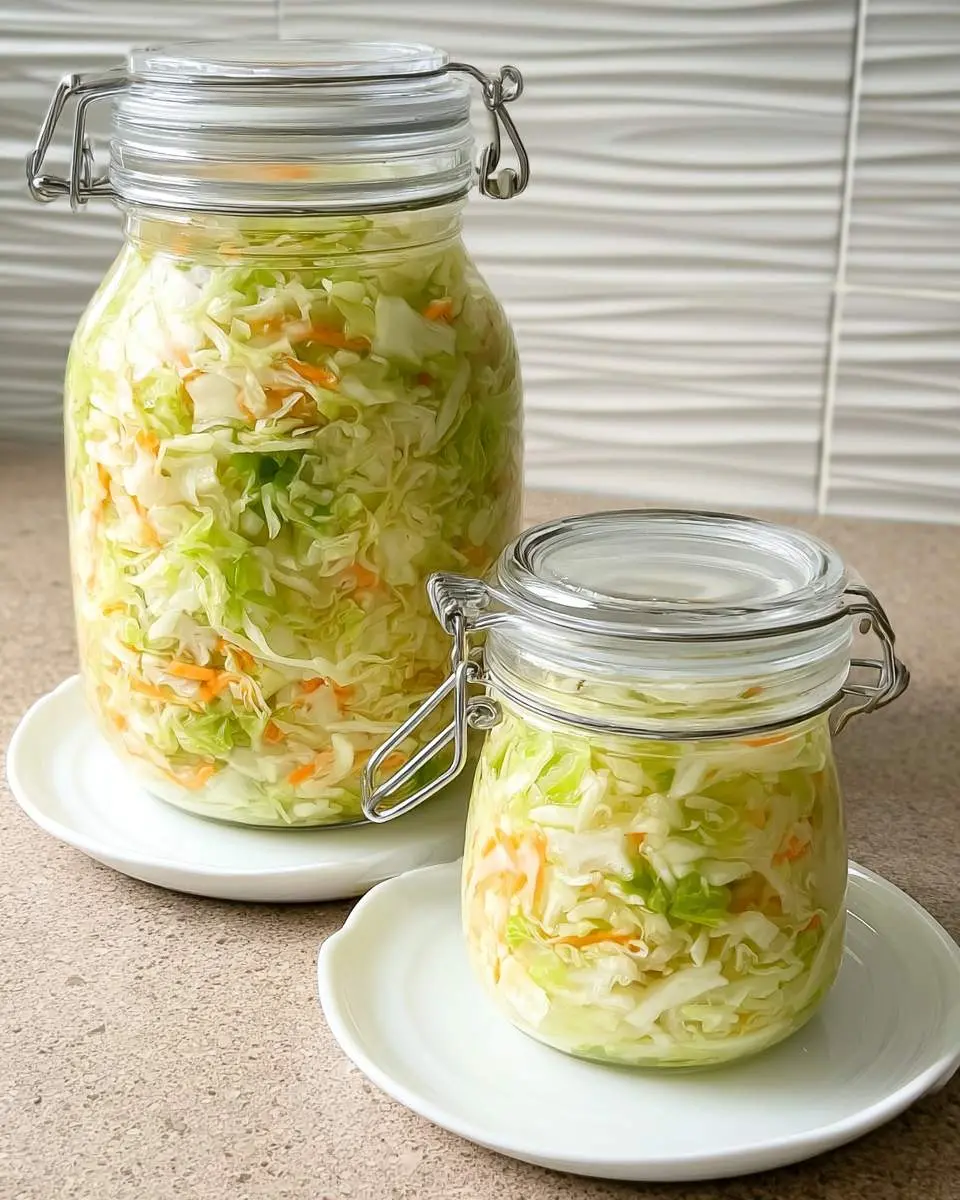
The process unfolds like a slow conversation. I start by quartering the cabbage and slicing it thin, almost translucent, feeling the resistance of the core give way beneath my knife. The massaging stage is where I lose myself: ten minutes of working salt through the shreds until the cabbage wilts and releases its water, my hands growing slick with brine. That liquid is liquid gold. I pack everything into a jar, using a tamper to eliminate air pockets, then weigh it down so the solids stay submerged. The waiting is the hardest part. For three days, I burp the jar daily, hearing the satisfying hiss of escaping gas, watching the color shift from bright green to muted olive. By day five, the tang announces itself when I lift the lid. If you’re interested in other preservation projects, these bread and butter jalapeno pickles use a similar patience-rewarding approach.
What I Learned After Three Batches
My first attempt grew a suspicious white film on top. I almost threw it out, then learned that kahm yeast is harmless, just unattractive. I scrape it off and carry on. Temperature matters more than I expected. My kitchen runs warm, so I ferment faster than recipes suggest, checking daily after day three to catch my preferred sourness. The cabbage continues to acidify in the refrigerator, so I now pull it when it’s slightly milder than I want it to end up. My Secret Trick: I save a few tablespoons of brine from a successful batch and add it to new ones as a starter culture. This jump-starts fermentation and seems to create more consistent results, especially in winter when my kitchen runs cool.
How to Store Fermented Cabbage
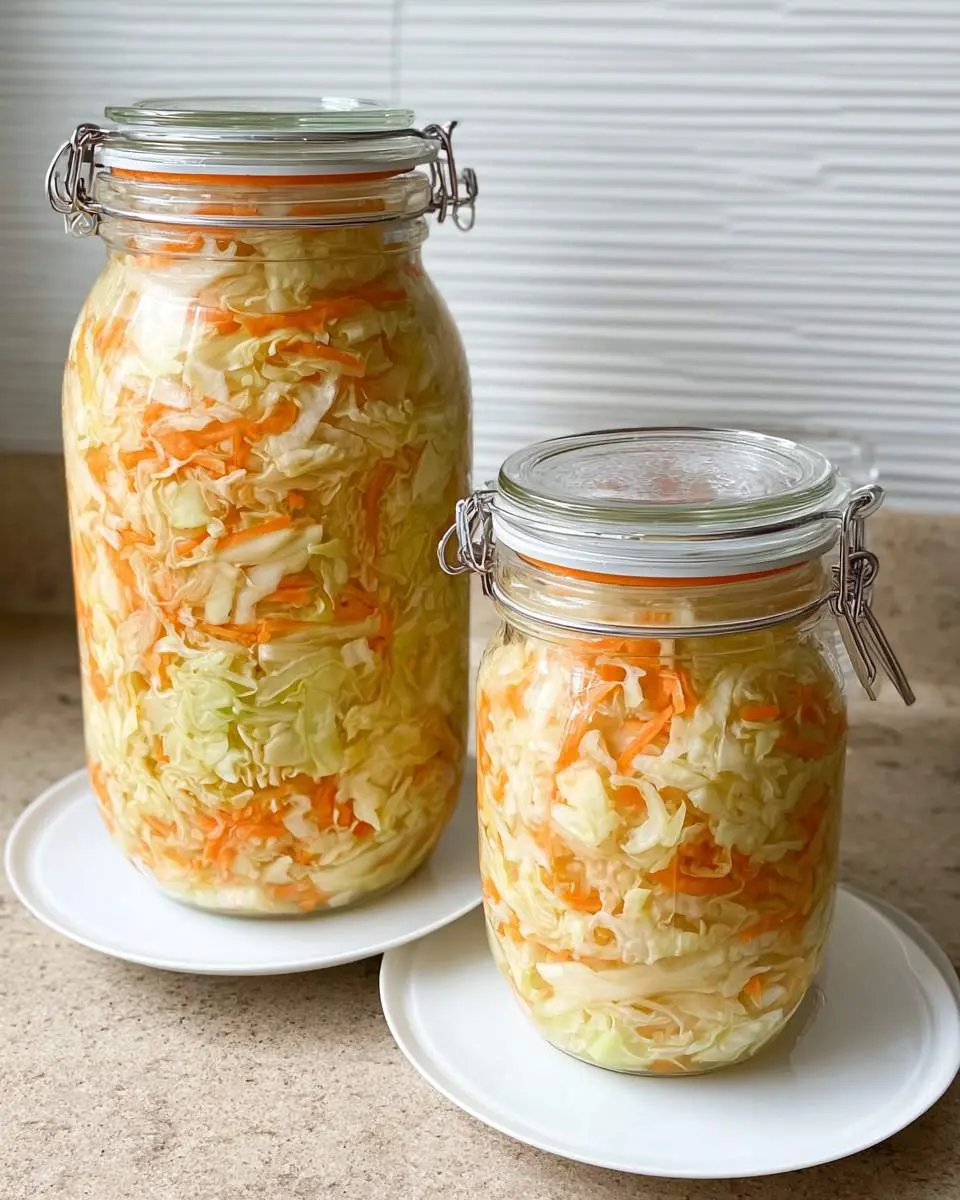
- Refrigerate in original fermentation jar or transfer to clean glass containers with tight lids
- Keeps actively fermenting and improving for 2 to 3 months in the refrigerator at 38°F
- After 3 months, flavor peaks and gradually mellows; still safe but less vibrant for up to 6 months
- Do not freeze; texture becomes unpleasantly mushy upon thawing
- Always use clean utensils to remove portions; never double-dip to prevent contamination
- If brine evaporates, top with a 2% salt solution to keep cabbage submerged
Why This Belongs in My Regular Rotation
Fermented cabbage earned its place in my kitchen through sheer utility. The live cultures support my gut health in a way I can actually feel, especially during heavy travel months when my digestion suffers. Meanwhile, the vitamin C content increases during fermentation, which feels like getting something for nothing. I add it to grain bowls, tuck it into grilled cheese, or eat it straight from the jar when I need something sharp and alive. It satisfies a craving I didn’t know I had until I developed the habit.
FAQs
Why did my fermented cabbage turn pink?
Pink cabbage usually indicates contamination from pink yeast, which thrives when salt levels are too low or cabbage isn’t fully submerged. While not dangerous, it creates off-flavors. I discard pink batches and start fresh, ensuring my brine concentration hits 2% by weight and keeping everything weighted below the liquid line.
How do I know if my fermentation has gone bad?
Trust your senses. Safe fermented cabbage smells tangy and pleasantly sour. Dangerous spoilage announces itself with putrid, ammonia, or rotting odors, plus mold in colors other than white. Kahm yeast looks filmy and white; scrape it off. Fuzzy green, black, or blue mold means compost, not consumption.
Can I use red cabbage instead of green?
Absolutely, though the results surprise first-timers. Red cabbage leaches anthocyanins into the brine, creating shocking magenta liquid that stains everything it touches. The flavor profile remains similar, slightly earthier. I find it beautiful but warn guests before serving, as the color can alarm the uninitiated.
Do I need special equipment to ferment cabbage?
Not at all. I started with a mason jar and a small glass weight. A simple airlock lid helps but isn’t essential. The key requirements are clean glass, sufficient salt, and patience. My fancy fermentation crocks live in the cabinet now; I reach for basic jars every time.
Fermented Cabbage
Ingredients
Equipment
Method
Notes
Conclusion
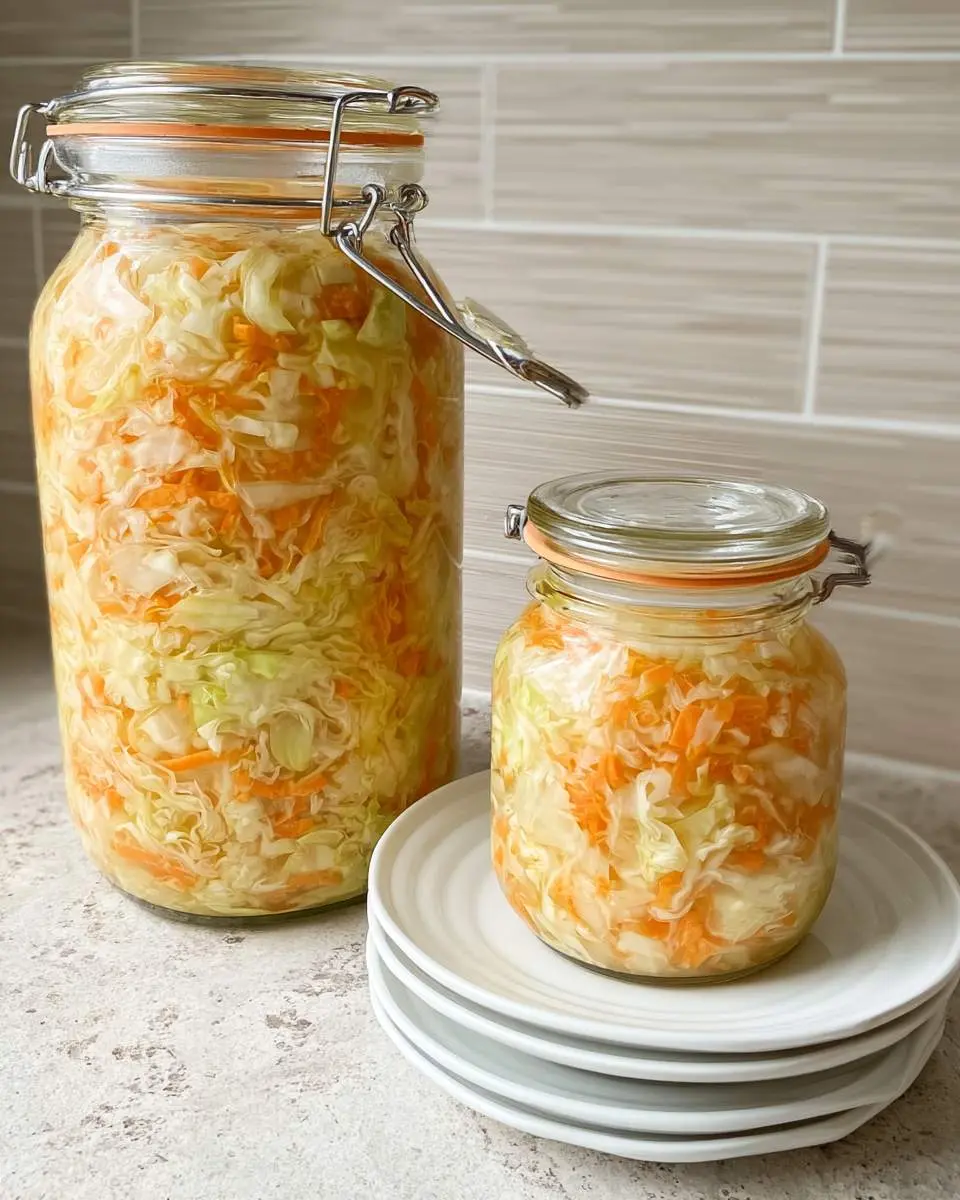
Fermented cabbage taught me that the best flavors require surrendering control. I prepare, I wait, I trust invisible processes. The reward is a jar of something alive and complex, made by my own hands but not entirely by my own doing. For quick vegetable sides when fermentation feels too slow, these sauteed vegetables deliver immediate satisfaction. Start your jar this weekend. Future you will be grateful.
Follow us on Social Media : Pinterest