
I remember being a kid and absolutely mesmerized by the vibrant colors and sweet, fruity smell of bubblegum. There was just something magical about it, and recreating that joy in a frozen treat has been a delightful journey for me. This bubblegum ice cream is more than just a dessert; it's a little trip back to simpler times.
My kiddos are always asking for something fun and different, and one afternoon, while we were at the candy store, my daughter pointed to a huge display of bubblegum and asked, “Mom, can we make ice cream that tastes like this?” Of course, I couldn't resist such an adorable challenge!
The Ninja Creami makes whipping up unique, creamy treats so incredibly easy, and I knew it was the perfect tool for bringing this playful flavor to life. It truly turned out to be one of those 'why didn't I try this sooner?' moments, and now I'm thrilled to share how simple it is to achieve.
What You Need to Make This Recipe
For this whimsical creation, a good quality bubblegum flavoring extract is absolutely key; it's what gives us that unmistakable nostalgic taste we're after. Beyond that, a simple base of whole milk and heavy cream provides the rich, smooth texture that makes any ice cream, especially this homemade treat, truly satisfying. And honestly, a touch of pink food coloring just makes it visually pop and feel even more authentic to that classic bubblegum experience.

How to Make Bubblegum ice cream
The process for this delightful ice cream is wonderfully straightforward, starting with simply whisking together your milk, cream, and sugar until everything is perfectly dissolved. Then comes the fun part: adding that magical bubblegum extract, watching the mixture transform as you stir in a few drops of pink food coloring to get that iconic hue. The aroma alone will transport you straight to a candy shop!
Once your base is mixed, it goes into your Ninja Creami pint to chill overnight, which is crucial for achieving that incredible, creamy texture. The next day, you simply pop it into the Creami, select the “ice cream” setting, and let the machine work its magic, transforming that frozen block into a perfectly scoopable, vibrant creamy dessert. I love to give it a quick re-spin with some soft bubblegum pieces if I'm feeling extra playful, creating little bursts of chewy joy.
Pro Tips
To really nail that authentic flavor, don't skimp on the bubblegum extract; a good quality one makes all the difference, providing a taste that isn't just sweet but truly reminiscent of the classic chewing gum. Also, resist the urge to add too much food coloring too quickly; start with a drop or two and gradually add more until you reach your desired pastel pink, as a little goes a long way and you want a pretty shade, not an overpowering one for your bubblegum ice cream.
For the best texture, ensure your base is thoroughly chilled for at least 24 hours in the freezer before spinning; this allows the ingredients to meld and freeze solid, which is vital for the Creami to achieve its signature creamy consistency.
My Secret Trick: For an extra layer of fun and texture, add a few pieces of soft, unwrapped bubblegum (like the square kind) to the pint and do a “re-spin” after the initial cycle; it infuses little pockets of chewy goodness throughout the ice cream.

How to Store Bubblegum ice cream
- Transfer any leftover ice cream back into the Ninja Creami pint or an airtight freezer-safe container immediately after serving.
- Press plastic wrap directly onto the surface of the ice cream to prevent ice crystals from forming, then seal with a lid.
- Store in the coldest part of your freezer for up to 2-3 weeks for optimal freshness and texture.
- If it becomes too hard after freezing, you can re-spin it in the Ninja Creami on the “re-spin” setting to bring back its creamy consistency.
Nutritional Benefits
While bubblegum ice cream is definitely a treat, making it at home gives me the power to control the ingredients, which I always appreciate. It means I can use real dairy without any unexpected additives, offering a wholesome, calcium-rich base. Plus, the joy and satisfaction of a homemade dessert like this can honestly be a little mood booster, which I think counts for something important too!

FAQs
Can I make this recipe without a Ninja Creami?
While designed for the Ninja Creami, you could adapt this base for a traditional ice cream maker. Just follow your machine's instructions for churning, then freeze until firm.
What kind of bubblegum flavoring should I use?
I recommend using a clear, food-grade bubblegum extract or flavoring oil. Check specialty baking stores or online for brands that offer concentrated, authentic flavors.
Can I add actual pieces of bubblegum?
Absolutely! I love adding small, soft unwrapped bubblegum pieces during a re-spin cycle in the Creami. It gives a fun, chewy texture, just like my bubblegum ice cream should have.
How do I achieve that vibrant pink color?
Start with 1-2 drops of pink gel food coloring and mix well. Add more one drop at a time until you reach your desired bright, playful pink hue without making it too dark.
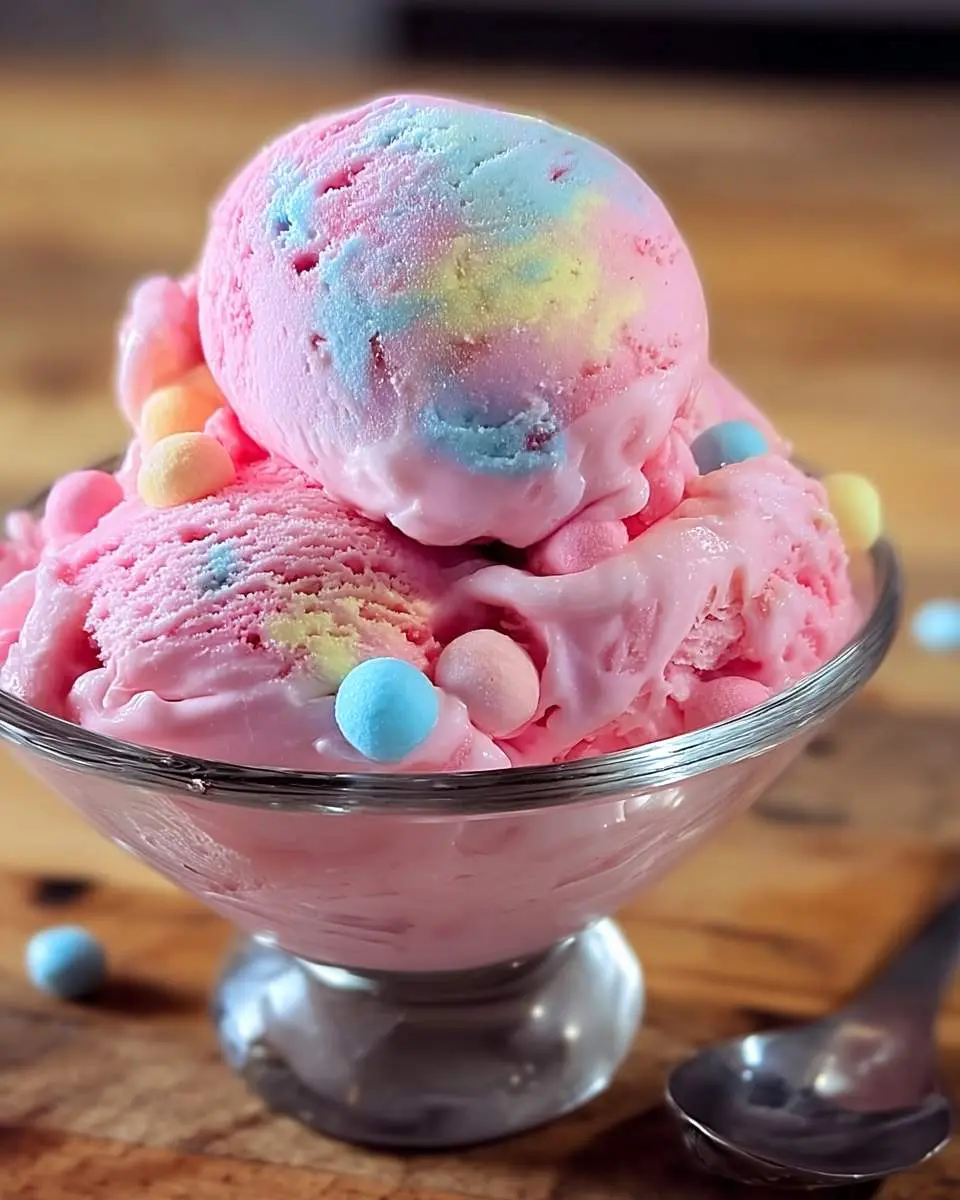
Bubblegum Ice Cream
Ingredients
Equipment
Method
Notes
Choose mini gumballs or candy-coated bubblegum pieces that are specifically designed to remain chewy in cold temperatures. Regular gumballs can become rock-hard and unpleasant to eat when frozen.
Feel free to adjust the amount of bubblegum flavoring oil and food coloring to your personal preference. Start with the suggested amount and add more gradually if you want a more intense flavor or deeper pink hue.
Conclusion
There's just something so incredibly satisfying about creating a treat that brings out the inner kid in everyone, and this bubblegum ice cream truly does that for me. It’s a burst of fun, flavor, and pure delight in every spoonful. I really hope you give this one a try; it's a little piece of joy that's super easy to whip up and share with your loved ones, just like making rainbow sherbet.
