
When that sushi craving hits, but a restaurant isn’t possible, my go-to is this incredibly fresh and satisfying Salmon Sushi Bowl. It’s the perfect answer to a busy weeknight, offering those delicious flavors in a simple, deconstructed way. This recipe reminds me of moments in my grandmother’s kitchen, where food always felt like a warm hug. We’d experiment, turning simple meals into something special.
This Salmon Sushi Bowl offers a hearty, comforting, and low-stress meal. Packed with lean protein and fresh veggies, it’s a wholesome choice. My secret trick? Make extra rice; perfect for tomorrow’s lunch!
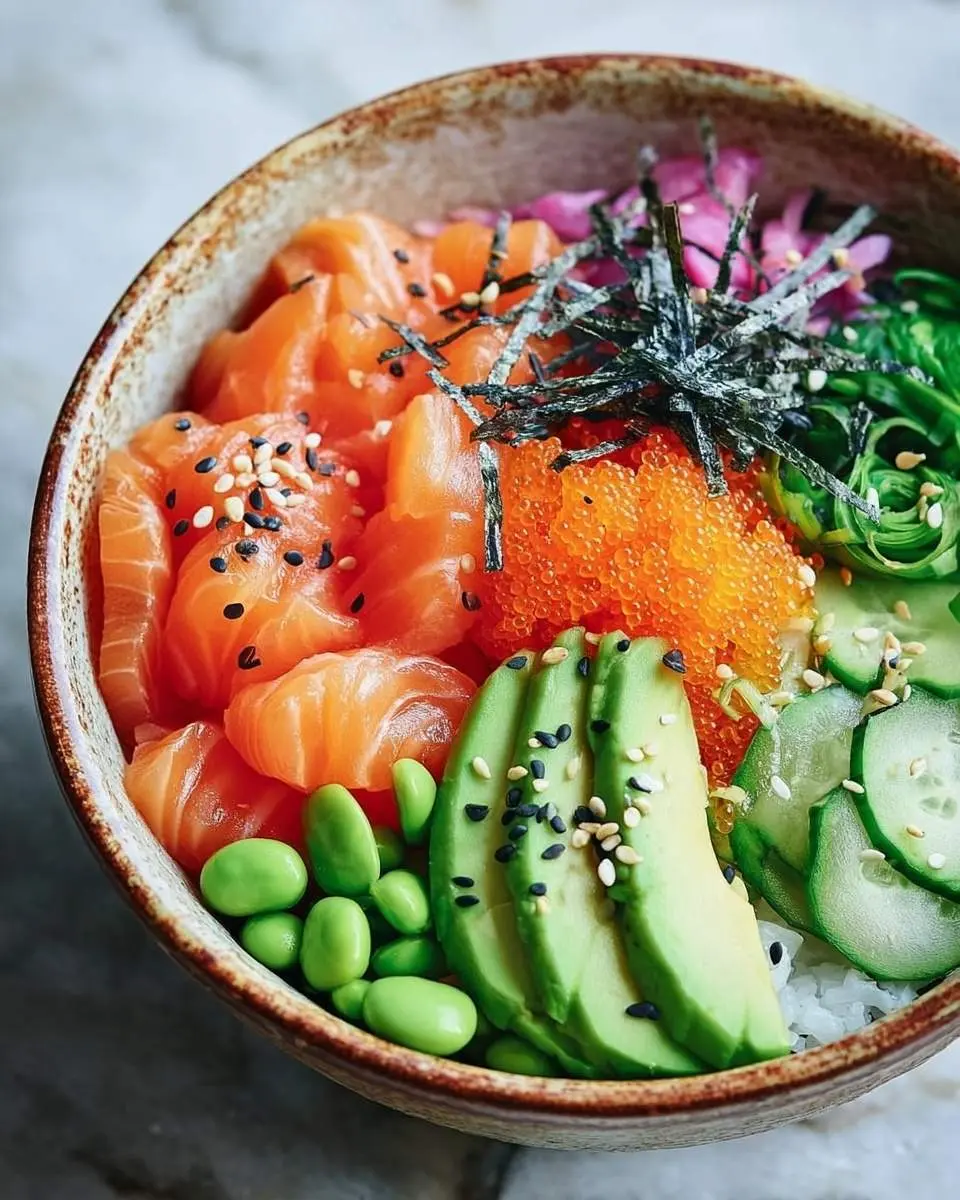
What You Need to Make This Recipe
For this delightful Salmon Sushi Bowl, you’ll need fresh ingredients: succulent salmon, creamy avocado, and crisp cucumber. These create a balanced, flavorful dish, much like our Honey Glazed Salmon Rice Bowls. Find the full list in the recipe card below.
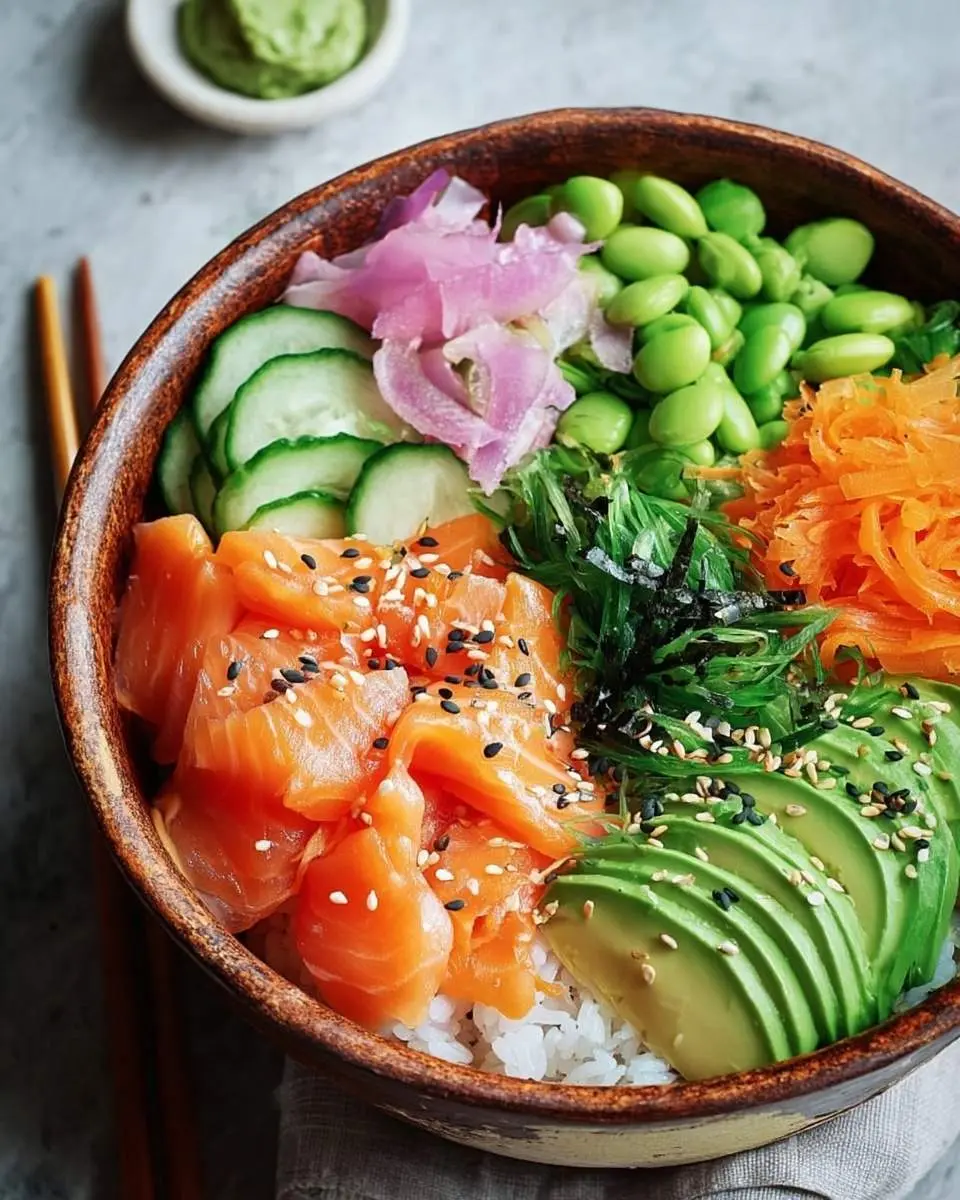
How to Make Salmon Sushi Bowl
Crafting this Salmon Sushi Bowl is simpler than you might think, starting with perfectly seasoned sushi rice, followed by quickly cooked salmon, and then assembling with fresh toppings and a zesty spicy mayo. It’s a fantastic weeknight meal that comes together quickly, similar to how fast our Garlic Shrimp Bowl can be on the table. The beauty is in the fresh components and how easily they’re prepared.
Pro Tips for Making This Salmon Sushi Bowl
Getting that perfect balance of flavors and textures in your Salmon Sushi Bowl is all about a few simple tricks I’ve learned over the years while navigating family meals.
- Perfect Rice Every Time: The key to a great sushi bowl is perfectly cooked, slightly sticky rice. I always rinse my short-grain rice several times until the water runs clear to get rid of excess starch. This critical step ensures a fluffy, tender texture that truly elevates the bowl.
- Don’t Overcook the Salmon: Salmon cooks quite quickly, and nobody likes dry fish! I aim for just cooked through, so it remains moist and flaky, melting in your mouth. A digital thermometer is your best friend here, aiming for 145°F (63°C) to get that ideal tenderness.
- My Secret Trick: For an extra layer of umami and a wonderful depth of flavor in your spicy mayo, I always add a tiny splash of toasted sesame oil. It imparts a delightful nuttiness that truly elevates the entire Salmon Sushi Bowl experience from good to absolutely incredible, making everyone ask for more.
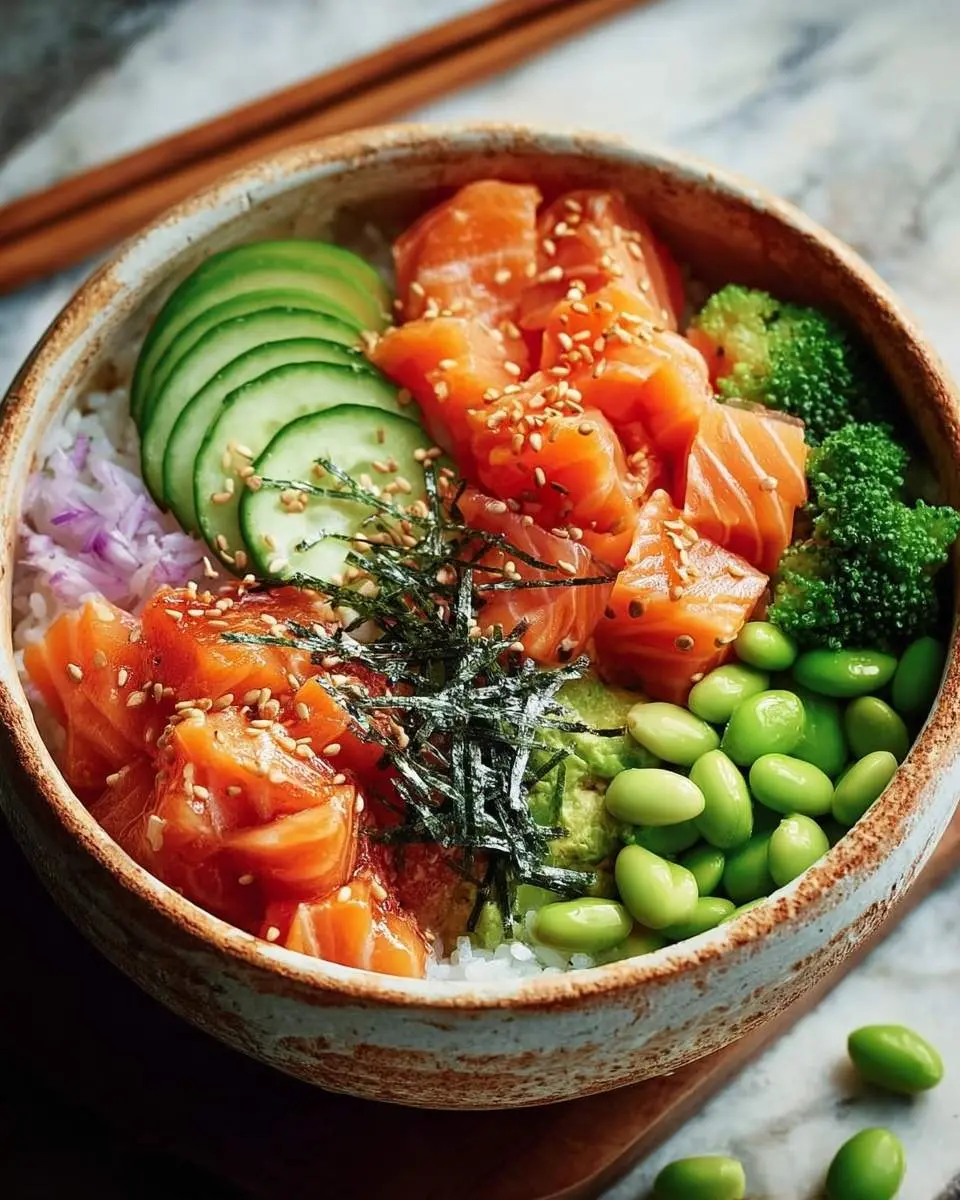
Fun Variations for Salmon Sushi Bowl
One of my favorite things about a Salmon Sushi Bowl is how incredibly adaptable it is to whatever you have on hand or what your family prefers. You can easily swap out ingredients to keep things fresh and exciting, much like we do with our adaptable Thai Peanut Chicken Buddha Bowl, ensuring no one ever gets bored.
- Protein Swap: Not a salmon fan tonight, or looking for something different? Try grilled chicken, seared tuna, or even crispy baked tofu for a fantastic vegetarian twist.
- Veggie Boost: Don’t hesitate to add shredded carrots, sweet edamame, thinly sliced red cabbage, or colorful bell peppers for more vibrant crunch and nutritional value. My kids love it when I sneak in extra veggies this way!
- Sauce It Up: Experiment with different sauces like a sweet and savory soy glaze, a creamy avocado dressing for extra richness, or even a tangy ginger dressing to brighten things up. Each twist makes this Salmon Sushi Bowl feel new again!
What to Serve With Salmon Sushi Bowl
This Salmon Sushi Bowl is truly a complete meal on its own, but sometimes a little something extra just makes it even better and feels more like a full spread. For our family, I often pair it with these simple, refreshing additions that complement the flavors beautifully.
- Miso Soup: A warm, savory bowl of miso soup is a classic pairing that wonderfully balances the fresh flavors of the bowl.
- Edamame: Steamed and lightly salted edamame pods are a quick and easy appetizer or side that everyone enjoys.
- Seaweed Salad: A refreshing side of store-bought or homemade seaweed salad adds another layer of authentic flavor and texture to your Salmon Sushi Bowl. My practical tip: Always have some extra soy sauce and sriracha on the table, plus maybe some extra pickled ginger, for everyone to customize their bowls to their exact liking. This empowers even the pickiest eaters!
How to Store Salmon Sushi Bowl
Leftovers of this Salmon Sushi Bowl can be a lifesaver for lunch the next day, making meal prep a breeze! I always store the rice, salmon, and fresh toppings like avocado and cucumber in separate airtight containers in the refrigerator. This keeps everything fresh and tasting great for up to 2-3 days, ensuring your ingredients maintain their individual textures. Reheating the salmon and rice gently (a quick zap in the microwave or pan on low heat) and then adding the fresh, chilled toppings ensures the best texture and flavor, mimicking a freshly made meal. My personal tip: Reheating the salmon and rice separately and then combining them with fresh, cool toppings prevents everything from getting mushy or losing its vibrant appeal.
Nutritional Benefits
This Salmon Sushi Bowl is a powerhouse of nutrition! Packed with omega-3s from salmon, essential vitamins from fresh veggies, and energy from rice, it’s a balanced meal I feel great serving my active mountain family.
FAQs
Can I use pre-cooked salmon for this recipe?
Absolutely! If you have leftover cooked salmon or prefer to buy pre-cooked, it can certainly be used to make this Salmon Sushi Bowl even quicker. Just flake it into the bowls and enjoy. Make sure it’s fully heated through if you prefer it warm.
How can I make my sushi rice stickier?
To ensure your sushi rice has that desired sticky texture for your Salmon Sushi Bowl, make sure you rinse it thoroughly before cooking to remove excess starch. After cooking, let it rest, then mix in the seasoned rice vinegar while it’s still warm, using a cutting motion with a spatula.
What if I don’t have fresh salmon on hand?
No worries! You can use canned salmon or even smoked salmon if that’s what you have. While the texture will be different from freshly cooked, it still makes for a delicious and convenient Salmon Sushi Bowl. Adjust seasoning as needed.
Can I prepare components of the Salmon Sushi Bowl ahead of time?
Yes, absolutely! You can cook the sushi rice and salmon a day in advance. Store them separately in airtight containers in the fridge. Prepare the spicy mayo and chop harder vegetables like cucumber. Add avocado and nori just before serving for the freshest taste in your Salmon Sushi Bowl.
Deconstructed Salmon Sushi Bowl with Spicy Mayo
Ingredients
Equipment
Method
Notes
Conclusion
This Easy Salmon Sushi Bowl recipe truly brings the vibrant, fresh flavors of a sushi restaurant right into your home kitchen, in a way that’s totally manageable for even the busiest weeknights. It’s a wholesome, customizable, and incredibly satisfying meal that my entire family, including Emma, Jake, and Lily, absolutely adores for its fresh taste and fun assembly. I hope you’ll give this adaptable Salmon Sushi Bowl a try soon and make it a new, delicious favorite in your family’s meal rotation. Enjoy the delicious journey and the joy of a healthy, homemade meal!
Follow us on Social Media : Pinterest
